more FTTP BYO Router Installation Guide


BYO Router Setup
Fibre to the Premises (FTTP) Connection
Step 1
Step 3
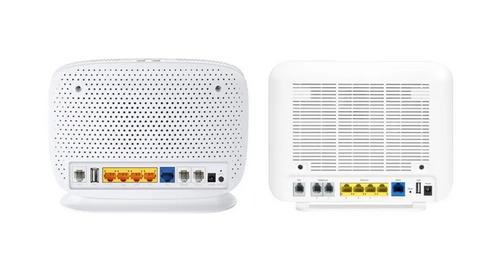
Locate the nbn® Network Termination Device (also
known as nbn® Connection Box) that has been
installed inside your property.
Ensure that the power cable is securely in place and
that the Power and Optical lights are showing as
steady green on the nbn® Connection Box.
Step 4
Now look on the under side of the nbn® Connection
Box where you can see the Uni-D ports surrounded
by yellow.
Step 2
Gently lift the cover of the nbn® Connection Box. To
do this press the two clips on either side and lift the
cover at an angle.
Step 5
Connect a computer or laptop to your BYO router
via a cable or by WIFI and access the router
configuration page. If you are unsure how to do this,
please consult the router user guide.
Step 6
Most routers will provide a Quick Start Guide or
Setup Wizard – please try and follow these steps.
Ensure that your router is configured in WAN mode
and encapsulation is set to PPPoE. On most devices
you should leave all other settings as default. Then
configure your BYO router using the ISP username
and password that we will have emailed and SMS’d
to you.
|
BYO Router Setup
1
© More 2023
more.com.au

| General | Details |
|---|---|
| Name | more FTTP BYO Router Installation Guide |
| Make | more |
| Language | English |
| Filetype | PDF (Download) |
| File size | 0.19 MB |

If you have any questions regarding more FTTP BYO Router Installation Guide, please ask here and describe the problem in detail.

more BYO Router Installation Guide

more eero 6+ TrueMesh Wi-Fi 6 Dual-Band Router User Guide

netis N4 Wireless Dual Band Router Installation Guide

D-Link DIR-882 EXO AC2600 MU-MIMO Wifi Router Installation Guide

ASUS ZenWiFi XD4S AX1800 Dual Band WiFi Router User Guide

LAB4MUSIC Sipario Expanded Advanced MIDI Router User Manual

WEWINS M46Q 5G Mobile Router User Manual

YINUO-LINK Y6 300Mbps WiFi LTE Router Installation Guide

Micronet Union Technology WWYLT18 AC1200 Gigabit Dual Band Wi-Fi Router User Guide

LINKSYS 750MR7500 Hydra Pro 6E Mesh Router User Guide

Tenda RX27 Pro AX5700 Tri Band Gigabit Wi-Fi 6E Router Installation Guide

ASUS BE3600 Dual Band WiFi Router User Guide