
Synology RT6600AX Tri-Band Mesh 11ax Router Installation Guide


Synology WRX560 at a Glance
No.
1
Article Name
Location
Description
Displays the status of the system.
STATUS Indicator
WAN Indicator
Wi-Fi Indicator
Displays the status of WAN connection.
Displays the status of Wi-Fi connection.
2
Front Panel
3
4
Press to start WPS.
WPS Button
Wi-Fi Button
Right Panel
5
6
Press for three seconds to turn on/off the Wi-Fi network.
USB 3.2 Gen 1
(Type-A) Port
Connect an external drive, USB printer, or other types of USB
devices here.
7
8
9
Power Button
Power Port
WAN Port
Press to power on/off the Synology Router.
Connect the AC power adapter here.
Connect a network cable from the ISP modem into this port to
establish WAN connection.
1. Connect a network cable from the ISP modem into this port to
establish WAN connection.
10
2.5G WAN/LAN Port
Rear Panel
2. Connect network cables into these ports to establish LAN
connection
11
12
LAN Port
Connect network cables into these ports to establish LAN
connection.
RESET Button
Press and hold for four seconds (Soft Reset) or for ten seconds
(Hard Reset).
4
Chapter 1: Before You Start

| General | Details |
|---|---|
| Name | Synology RT6600AX Tri-Band Mesh 11ax Router Installation Guide |
| Make | Synology |
| Language | English |
| Filetype | PDF (Download) |
| File size | 0.4 MB |
 (1 votes, average: 5.00 out of 5)
 Loading...
If you have any questions regarding Synology RT6600AX Tri-Band Mesh 11ax Router Installation Guide, please ask here and describe the problem in detail.

Synology RT6600ax Router Installation Guide
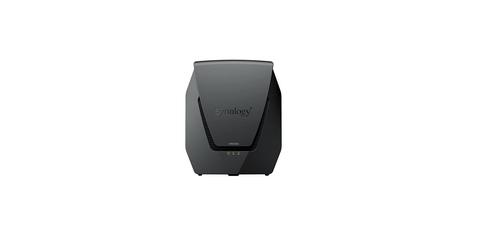
Synology WRX560 Wifi Router User Manual


ASUS RT-AC67P Dual Band AC Wi-Fi Router User Guide

ASUS RT-AC1300G PLUS Wireless AC1300 Dual Band Gigabit Router User Guide

XiXi A450L Router Installation Guide

ASUS EBG19P Gigabit PoE Plus VPN Wired Router User Guide
DIGITAL DEPP SEA 4GXtream Premium LTE Internet Access Router Instruction Manual

Cudy LT400 Outdoor 4G Wi-Fi Outdoor Router Installation Guide

PHILIPS PH-001 LTE Mi-Fi Router User Manual

TELTONIKA RUTM31 Router User Guide

TP-Link AX95 AX7800 Tri Band 8 Stream WiFi 6 Router User Guide

TP-Link AX5400 Multi Gigabit Wi-Fi 6 Router Installation Guide