
Synology RT6600AX Tri-Band Mesh 11ax Router Installation Guide


Connect to Your WRX560
1 Use the included network cable to connect your WRX560 (at the WAN1 port) to the ISP modem. Connect one
end of the power adapter to the power port on your WRX560, and the other end to the power outlet. Press the
power button to power on your WRX560. Wait for up to two minutes until the STATUS and WAN LED
indicators turn green.
2 Connect wireless client devices to your WRX560. When the Wi-Fi indicator has turned static green, WRX560 is
ready to connect with other devices. Use your wireless device to scan and join the Wi-Fi network created by
your WRX560.
Note:
The default credentials for the Wi-Fi network:
• Wi-Fi SSID: Synology_(Serial)
• Password: synology
You can change it during the initial SRM setup.
9
Chapter 2: Hardware Setup

| General | Details |
|---|---|
| Name | Synology RT6600AX Tri-Band Mesh 11ax Router Installation Guide |
| Make | Synology |
| Language | English |
| Filetype | PDF (Download) |
| File size | 0.4 MB |
 (1 votes, average: 5.00 out of 5)
 Loading...
If you have any questions regarding Synology RT6600AX Tri-Band Mesh 11ax Router Installation Guide, please ask here and describe the problem in detail.

Synology RT6600ax Router Installation Guide
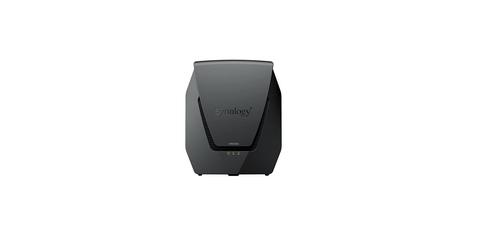
Synology WRX560 Wifi Router User Manual


Spectrum IP6442B WiFi 6E Router User Manual

Cudy RT02 Router Installation Guide

GL-iNet GL-BE3600 Dual Band Wi-Fi 7 Travel Router User Manual

Imou AC1200 Dual Band WIFI Router User Guide

TP-Link ARCHER C7 AC1750 Wireless Dual Band Gigabit Router User Guide

GEWISS GW A9707 KNX/IP Router Installation Guide

Cudy AX3000 Wi-Fi 6 Mesh Router Installation Guide

TP-Link AX6600 Tri-Band WiFi 6 Gaming Router Installation Guide

Ruijie RG-EG105GW All-in-One Wireless Router User Manual

NETGEAR Nightawhawk AC1900 WiFi Router R7000 User Manual