ufiSpace S9600-72XC Router Installation Guide


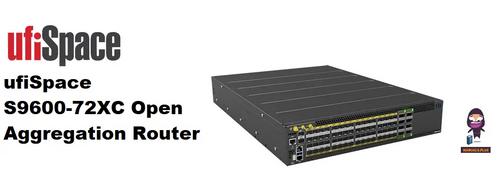
Figure 12.
S9600‐72XC Hardware Installation Guide | 12
| General | Details |
|---|---|
| Name | ufiSpace S9600-72XC Router Installation Guide |
| Make | UfiSpace |
| Language | English |
| Filetype | PDF (Download) |
| File size | 0.84 MB |

If you have any questions regarding ufiSpace S9600-72XC Router Installation Guide, please ask here and describe the problem in detail.

UfiSpace S9500-30XS Gateway Router Installation Guide

UfiSpace S9600-64X 100G Aggregation Router Installation Guide

UfiSpace S9600-32X 100G Aggregation Router Installation Guide

UfiSpace S9501-28SMT Gateway Router Installation Guide

STARLINK GEN 3 WIFI ROUTER Enhancing Homes Router Installation Guide

Peplink SDX Pro 24Gbps Modular Enterprise Branch Router User Guide

airlive W6-184QAX AX1800 Router Installation Guide

cradlepoint E110 Enterprise Branch Router User Manual

LANCOM SYSTEMS LANCOM 1790VAW Supervectoring Performance and WiFi Router User Guide

Cudy WR3000 Wireless WiFi Router Installation Guide

ASUS RT-BE92U Wireless Router User Guide

D-Link R3 AX3000 MU-MIMO WiFi Gigabit Router Installation Guide

acer W6X PREDATOR Connect Wi-Fi 6 Router Instructions

TP-Link TL-WR902AC Wireless Portable Nano Travel Router Installation Guide