Datto DSE641T 2×2 WiFi 6 Router User Guide


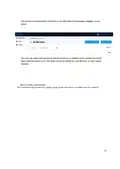


Email: Enter your email address or the address of a local administrator to contact. We will never
share this with others.
Network Location: Enter a street address for the first access point. To add access points, you
will be shown a map that you click on to place access points. By entering an address here, you
will be centered on the correct location for your network.
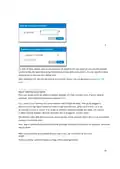
Email for Notifications: Enter the email addresses, separated by spaces, for all people you’d like
to receive “outage” notifications. These are sent hourly.
When finished, click “Create” to save your new network settings.
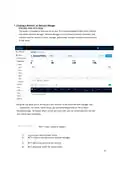
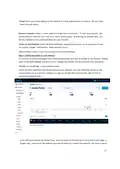
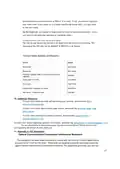
Step 3: Add access points to your network
It’s time to let Network Manager know which access points you want to include in the network. Adding
them to Network Manager will allow you to manage and monitor the access points from anywhere.
Navigate to the Manage > Access Points screen.
There are three options to add access points to your network: click the "Add New" button to add
access points one at a time by clicking on a map, or use the down arrow to the right of that to
add access points in bulk.
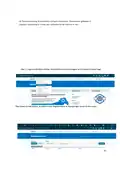
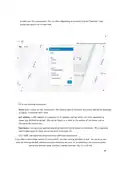
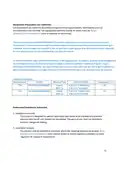
If you add access points the default way, you’ll be taken to the Map tab of the Access Points page. A
Google map, centered on the address you entered when you created the network, will show a popup
17
| General | Details |
|---|---|
| Name | Datto DSE641T 2×2 WiFi 6 Router User Guide |
| Make | datto |
| Language | English |
| Filetype | PDF (Download) |
| File size | 0.7 MB |

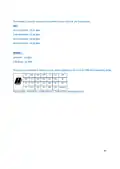
If you have any questions regarding Datto DSE641T 2×2 WiFi 6 Router User Guide, please ask here and describe the problem in detail.


Cudy WR3600E Gigabit Wi-Fi 7 Router Installation Guide

D-Link G403C 4G LTE N300 Wi-Fi Router User Guide
3onedata IRT5300L-5T2D-2P12_36 4G Wireless Router Installation Guide

ASUS ET12 AXE11000 Tri Band WiFi Router User Guide

D-Link DIR-615 Wireless Router User Manual

AKYPACH A2 Wood Router Tool Compact Trim Router Instruction Manual

D-Link M30 Wi-Fi 6 Mesh Router User Guide

ASUS RT-AC1300G PLUS Wireless AC1300 Dual Band Gigabit Router User Guide

TP-Link TL-MR110 Outdoor Router Installation Guide

Raymarine YachtSense Link 4G Marine Cloud Router Instruction Manual