Datto DSE641T 2×2 WiFi 6 Router User Guide


1
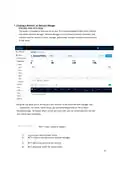
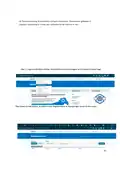
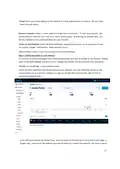
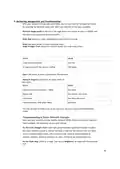
For both of these options, your access points will be added to the map based on your network location
(similar to how the Datto Networking iOS and Android apps add access points). You can reposition these
access points on the map after adding them.
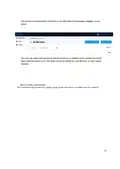
When adding by CSV, the CSV file must be in a specific format. You can download a sample CSV file
here.
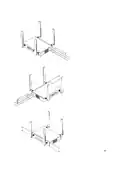
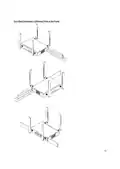
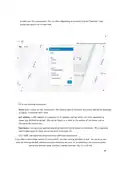
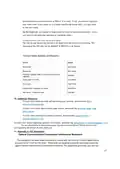
Step 4: Install the access points
Once your access points are added to Network Manager, it’s time to install them. If you're using an
enclosure, video installation guides are available here.
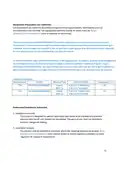
First, connect your Gateway unit to the Internet with an Ethernet cable. This can be plugged in
directly to your high-speed modem (if it has a single Ethernet port, power cycle it first), or it can
be fed from a router or switch. If it can get an Internet connection through the cable, it’ll connect
to Datto Network Manager. Once the Ethernet cable is plugged in, connect power.
The Ethernet cable (PoE device) must be connected only to PoE networks that is SELV circuit and without
routing to the outside plant.
Next, plug in additional access points as either gateways (connected to Ethernet) or repeaters, connected
only to power.
When mounting Datto access points directly onto a wall, use a minimum 30 mm screw
length.
To ensure strong, consistent signal coverage, follow these guidelines:
19
| General | Details |
|---|---|
| Name | Datto DSE641T 2×2 WiFi 6 Router User Guide |
| Make | datto |
| Language | English |
| Filetype | PDF (Download) |
| File size | 0.7 MB |

If you have any questions regarding Datto DSE641T 2×2 WiFi 6 Router User Guide, please ask here and describe the problem in detail.


vox FBA-RB952Ui-5ac2nD-TC Router Installation Guide

UBIQUITI U-LTE-Backup Pro LTE Router Installation Guide

MIKroTik D53G-5HacD2HnD Chateau 5G LTE Dual Band AC 5 Port Gigabit Router User Guide

LUXUL ABR-5000 Epic 5 Gigabit Router User Guide

DrayTek V4.3.2.5 Vigor1000B Multi WAN Security Router User Guide

TP-Link Archer GE650, GE550 Wi-Fi 7 Gaming Router User Guide

ASUS XD4S AX1800 Dual Band WiFi Router User Guide

DRAPER PT1202VSF 1200W 230V Variable Speed Router Instruction Manual

HNK RAX1810 Wi-Fi Router User Manual

NINGBO LF300 4G Mifi Wireless Router User Guide